

I’m having so much fun and it’s hard to believe that we are already in Week 4 of the One Room Challenge (ORC)! I’m so glad that I joined in on the fun! I fell a little short on my goal of completing some of my DIYs this week, but that’s ok, I still have time. In case you missed the previous weeks, here is a recap:
Week 1 I shared a little background on the ORC and why I selected the home office for the challenge.
Week 2 was a walkthrough of the design plan and selections I made for the room.
Week 3 was my take on the power of paint and I also shared the board and batten feature wall that I created in the room.
In addition to making some additional purchases to accessorize the office, I checked off two more things on my DIY list. Yay!
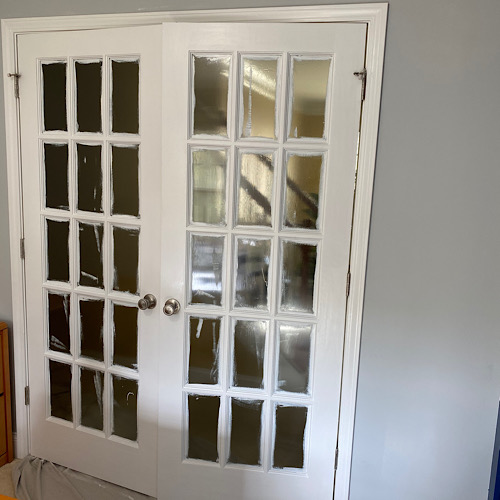
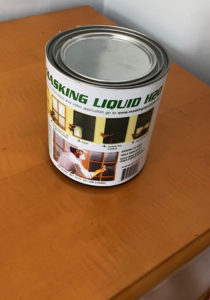
It became obvious that the French doors required painting after I updated the crown molding and the baseboard paint color. It’s off-white color stood out against the new white trim color. To save time I tried the liquid mask linked and pictured below so that I didn’t have to use painters tape on all the tiny little windows on the French door. Just imagine how much time that would take! Instead, I painted the mask on and then peeled it off once the painting was done. You can check my highlights on Instagram to see the process and how easy it was to use. It was definitely a huge time saver!
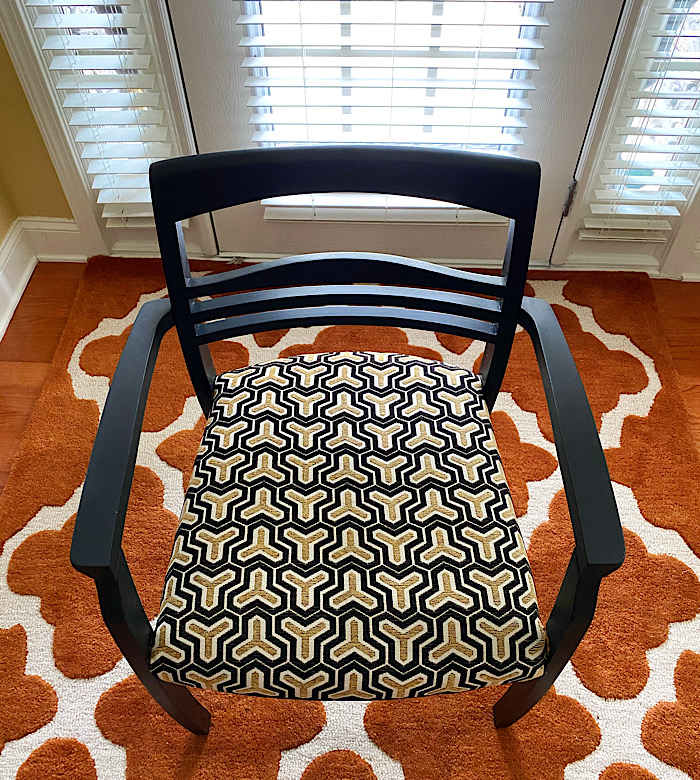
I also updated 2 chairs for the office! But, did I just recover or reupholster them? Some people may not have thought about the difference or even considered that there is a difference.
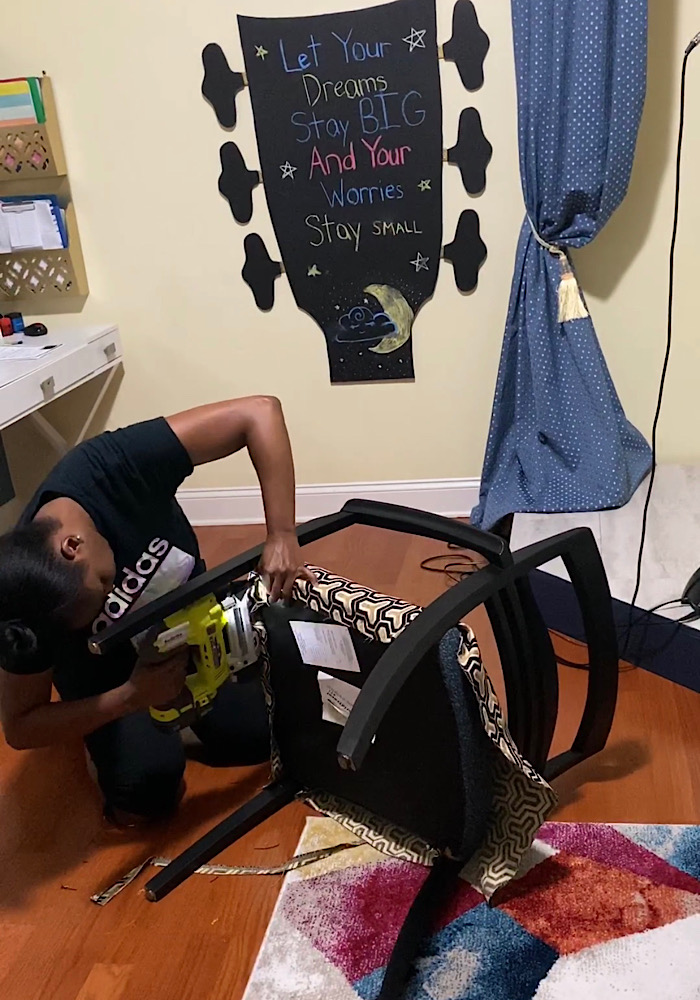
If you follow me on Instagram, you would have seen that I didn’t strip down the chairs before attaching the new fabric and here’s why. Yes, it saved a lot of time, but that was not the main reason. Saving time was just a really good excuse for me to not put in the extra work. Taking a chair apart can be a lot of work and hard on your wrist to manually remove the old staples to get the old fabric and padding off. The main reason I didn’t strip down the chairs was because it’s well made, still very sturdy and the seat was easy to wrap because of the simple shape. It also only involved updating the seat. There were no padded arms or back to consider which made this a really simple project. So again, to save time, I just covered over the original blue fabric.
Before the upholstery Gods come after me for letting you think that reupholstering is easy work, let me share a little more so that you can decide what’s the best choice if you ever decide to do this DIY.
So back to my original point, there is a difference between recovering and reupholstering a piece. They are both great alternatives to buying brand new when your furniture piece gets dated. Like everything else, there are lots of tips and tricks, but you have to determine if they are worthwhile and will give you the results that you are looking for. Sometimes we want to save money, but if we’re not careful and do our research, it can end up costing more. I’ll be the first to tell you to save money, but there are certain shortcuts you don’t want to take and I’m here to save you from making those costly mistakes (both time and money).
Recovering is simply the process of removing the old fabric and adding new fabric. For the ORC, I didn’t even remove the original fabric (I only replaced the fabric I previously used to recover the chairs) since the original fabric was still clean and the chairs were sturdy. I just wanted an updated look to match the new decor in the office. So, I took a shortcut! You may consider recovering if you have gently used chairs that still have good bones/frame but are just worn from soils/spills. I have several dining chairs that I’ve recovered over the years due to spills and dirt from my kids. I’m just thankful that my kids now have better table manners and no longer wipe their hands on the seat. LOL
Reupholstering may require a lot more work, including 1) replacing and/or rebuilding the frame if the support system is bad ( you wouldn’t want to fall through the seat right?!), 2) adding new padding and 3) adding new fabric. It’s no wonder professional upholstery can be so expensive, but it’s worth every penny if you want to extend the life of your piece. The labor is an additional cost that you would have if it’s not a DIY.
You may feel up to the task to attempt to reupholster yourself, but please do consider your skills and how much work may be required to bring your piece back to life. Otherwise, you may want to consider sending it off to the pros. Before attempting a DIY, you should calculate the cost for materials, because it can end up costing as much as it would cost to purchase a brand-new piece, and even more. If it has sentimental value or it’s a family heirloom, time or money may not be a hindrance. Go for it!
Tips for selecting fabric to recover or reupholster:
- The next time you visit a fabric store, check the back for remnants. Remnants are small amounts of fabric that is remaining/left over. Sometimes the pattern is being discontinued by the manufacturer or the store wants to get rid of the remaining fabric for various reasons. The cost per yard for remnants are usually less than half the original price. I literally have a collection of remnants and I can never complain of boredom because there are so many projects that I can complete around the house! It’s a joy for me to collect because the possibilities are endless!
- Purchase upholstery weight fabric. They are much more durable and can handle daily wear and tear.
- Avoid leather or vinyl fabric if possible. They are very difficult to work with because they are hard to fold and shape around curvy areas such as the legs and arms of a chair.
- Measure your furniture to determine the amount of fabric you’ll need, but be sure to purchase extra for cutting mistakes or miscalculations.
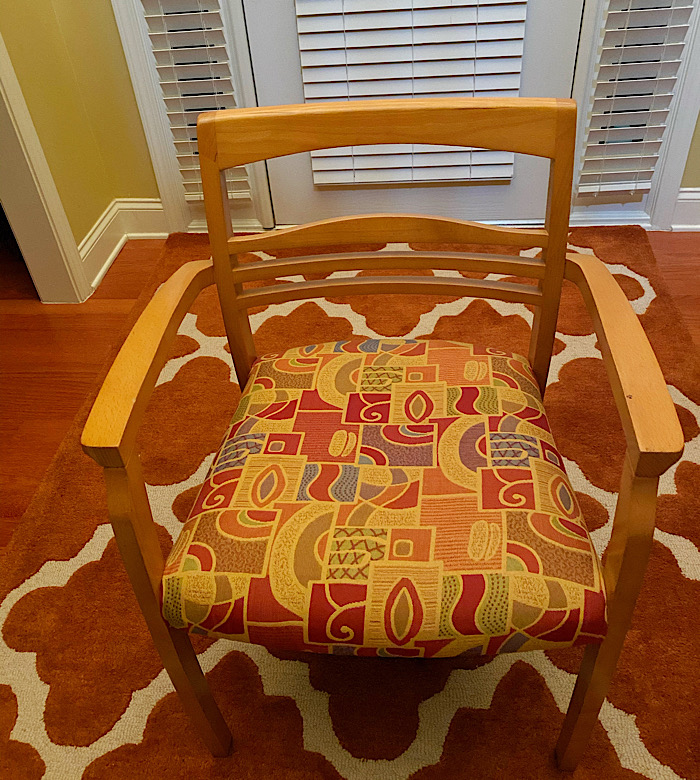
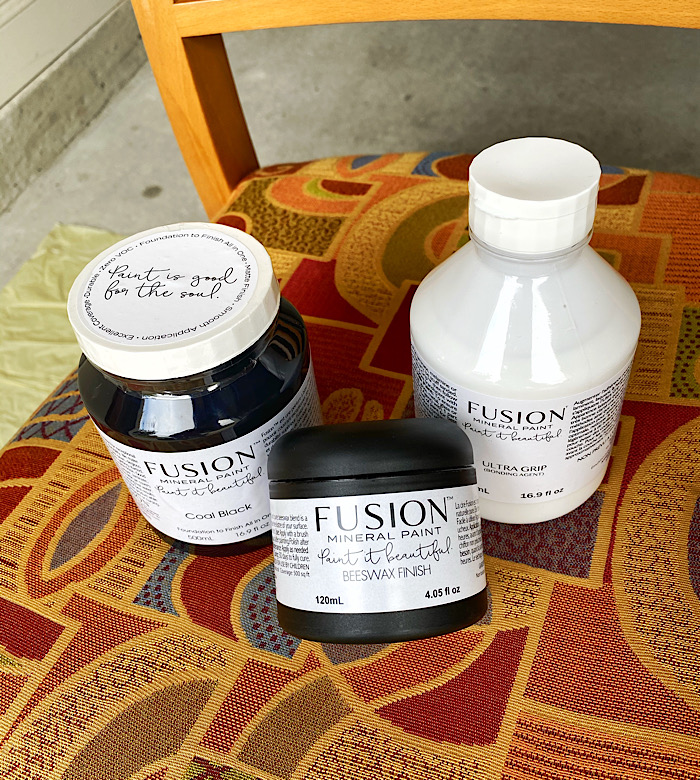
You might have also noticed that I painted the chairs black. That’s pretty hard to miss, it’s so beautiful! 😊 I loved the original finish, but wanted to give the chairs a new look for the room. It had a very glossy finish and even after sanding, I was afraid the paint would not stick. I used a few products from the Fusion Mineral Paint line to complete the look. It was a three-step process. I first started with their Ultra Grip, which as the name implies preps the surface so that the paint has something to stick/grip to. Once that dried, I applied the paint color Coal Black which has a matt finish. To give it a little shine, I applied their Beeswax Finish. It doesn’t give a glossy finish, just a little shine that I think enhances the color quite a bit. The good news is that Fusion Mineral Paint’s website has tons of information and tutorials on how to apply and use their products. I’m sharing this because I am truly happy with the results. If the surface of your furniture piece is hard to prep for painting (laminate, glass, etc.), you can consider this paint line as an option to solve your problem.
Stay tuned to Instagram as I share more progress and more results and tips here on the blog next week!
Don’t forget to check out the progress of the other guest participants and featured designers! There is some really amazing talent out there!

Wow! The chair looks brand new indeed!!! I could never have imagined/pictured the transformation!!! Truly inspiring!!
Thank you Rondeen! I’m so glad you’re inspired! I’m loving the new look too!
Wow Dasia, love everything you’ve done so far.. The chair is looking brand new..
Thank you Cheryl! I’m glad you love it! Just two weeks left!